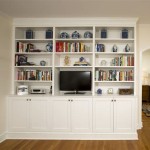
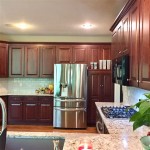
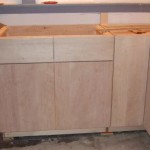
Are you looking for a creative way to spruce up your kitchen? Tired of the same old bland cabinets? Painting kitchen cabinets is one of the easiest and most cost-effective ways to quickly add a whole new look to your kitchen. It’s also an excellent DIY project for any homeowner who is willing to take the time to do it right. With the right materials and tools, you can transform your kitchen in a few days. This step-by-step guide will help you paint your kitchen cabinets like a pro.
Before you start, make sure you have the right supplies. You’ll need a good quality primer, paint, some sandpaper, a paint roller, and some painter’s tape. You’ll also need some towels to wipe up any spills and a drop cloth to protect your flooring. Make sure you take the time to properly prepare the surface of your cabinets. This means cleaning them thoroughly and sanding any rough spots. It’s also important to make sure the cabinets are completely dry before you start painting.
Once you’ve prepped the cabinets, it’s time to prime. This is important to make sure the paint adheres properly and ultimately lasts longer. Apply the primer with a paint roller and use a brush to get into any hard to reach areas. Make sure to let the primer dry completely before you start painting. It’s also important to use painter’s tape to cover any areas you don’t want to paint, such as the cabinet doors and hardware.
When you’re ready to start painting, make sure to use an even, consistent stroke. Start with the inside of the cabinets, then paint the outside. Work in small sections and use a brush to get into any hard to reach areas. If you’re using a spray paint, make sure to apply multiple coats and let them dry completely in between each coat. If you’re using a brush or roller, it’s important to use a light touch and not over-brush or over-roll the paint. Once you’ve finished the painting, let the cabinets dry completely before you move on to the next step.
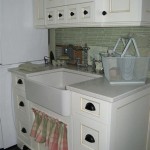
Now that you’ve finished painting, it’s time to add the hardware. This is the perfect time to customize your cabinets with unique hardware. If you’re using pre-drilled hardware, make sure to line it up properly before you attach it. If you’re using hardware that requires drilling, make sure to measure twice and drill once. Once you’ve attached all the hardware, your cabinets are ready to be installed.
Painting kitchen cabinets is a great way to give your kitchen a whole new look. With the right materials and a little bit of patience, you can transform your kitchen in just a few days. Following this step-by-step guide will ensure your DIY kitchen cabinet painting project is a success. So, get out your paintbrush and unleash your creativity!


Related Posts

