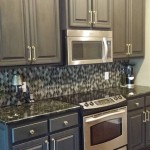
Whether you’re looking to enhance the look of your existing kitchen cabinets or give a fresh, updated look to a new set, the process of properly finishing cabinets can be a daunting task. To ensure your cabinets look professional, follow these simple steps.
First, prepare the surface. Sand the cabinets with a medium-grit sandpaper, and be sure to sand in the direction of the wood grain. Once you have finished sanding, wipe the cabinets clean with a damp cloth to remove all residue. Any imperfections in the wood should be filled in with a wood filler, and then sanded smooth.
Next, select a finish. You can choose from a variety of finishes, such as water-based, oil-based, or lacquer. Each one has its own advantages and disadvantages, so it’s important to decide which is best suited for your project. If you’re unsure, consult a professional for advice.
Once you have selected your finish, it’s time to apply it. Use a brush or roller to apply an even coat of the finish to the cabinets. Be sure to follow the directions on the can for the best results. If you’re using lacquer, use a sprayer for even coverage. Allow the finish to dry according to the instructions on the can.
After the finish has dried, you may decide to add a topcoat. A topcoat is a thin layer of finish that is applied after the primary finish. This layer serves to protect the finish and add a glossy sheen. Apply a thin layer of the topcoat with a brush or roller, and allow it to dry.
Once the topcoat is dry, the cabinets should be buffed to a shine. Use a soft cloth and a small amount of wax to buff the cabinets. Be sure to buff in the direction of the wood grain. If you’re using a sprayer when applying the finish, use a wax spray to buff the cabinets.
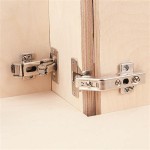
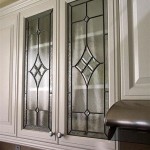
Finally, add any hardware to the cabinets. This includes drawer pulls, handles, and hinges. Be sure to use appropriate screws for the hardware, and follow the directions on the packaging for installation. Once all the hardware is installed, your cabinets will be finished and ready to use.
Finishing cabinets can be a difficult task, but with the right preparation and materials, you can achieve professional results. Follow these simple steps and your cabinets will look great for years to come.


Related Posts