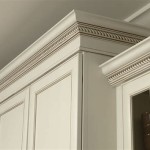
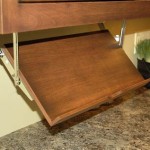
It is possible to have the look of professionally finished cabinets without spending a fortune. Staining unfinished cabinets is a great way to add a touch of style and sophistication to your home. Whether you are building cabinets from scratch or just want to give an existing set a fresh look, staining them can be a rewarding and satisfying experience.
Before beginning, it is important to prepare the cabinets properly. First, you will want to make sure that the surfaces are free of dust, dirt, and other residue. If you are staining unfinished cabinets, it is important to sand them down before you begin. This will help ensure that the stain is even and that the finish will last longer. Use a fine-grit sandpaper to gently scuff up the surface of the cabinets and then use a vacuum cleaner or a damp cloth to remove the dust.
Once the cabinets are clean and dry, it is time to apply the stain. Start by putting on a pair of protective gloves and goggles to protect your hands and eyes from the stain. You will also want to use a respirator to protect your lungs from the fumes. Once you have your protective gear on, it is time to begin applying the stain. Make sure to follow the directions that come with the stain to ensure that you get the best results.
When staining the cabinets, it is important to work in small sections. Start at the top of the cabinet and work your way down to the bottom. You can use a brush to apply the stain and then use a cloth to wipe it off. Once you have finished staining each section, allow it to dry completely before moving on to the next section. When all of the sections have been stained, you can then add a clear coat of finish.
Staining unfinished cabinets can be a great way to give your home a professional look without spending a fortune. It is important to take the time to properly prepare the cabinets before you begin and to follow the directions that come with the stain. With a little patience and practice, you can create a beautiful finish that will last for years to come.


Related Posts


