How to Replace a Recessed Medicine Cabinet: A Step-by-Step Guide
Recessed medicine cabinets are a convenient and space-saving way to store bathroom essentials. However, over time, they can become worn, outdated, or damaged. Replacing a recessed medicine cabinet is a relatively simple project that can be completed in a few hours with the right tools and materials.
Tools and Materials You'll Need:
- New recessed medicine cabinet
- Drill
- Screwdriver
- Level
- Caulk gun
- Caulk
- Spackling paste
- Putty knife
- Sandpaper
Step 1: Remove the Old Cabinet
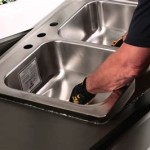
Turn off the power to the bathroom at the breaker box. Remove the cabinet doors and any shelves or organizers inside. Using a drill, remove the screws that hold the cabinet to the wall. Carefully pull the cabinet straight out of the wall.
Step 2: Prepare the Opening
Inspect the opening in the wall. If there are any gaps or uneven areas, fill them with spackling paste using a putty knife. Allow the spackling paste to dry completely and then sand it smooth.
Step 3: Install the Mounting Brackets
Most recessed medicine cabinets come with mounting brackets that attach to the walls of the opening. Place the brackets in the opening and mark the screw holes with a pencil. Use a drill to create pilot holes for the screws.
Step 4: Mount the Cabinet
Lift the cabinet into the opening and align the mounting brackets with the pilot holes. Secure the cabinet to the walls using the provided screws. Check the alignment of the cabinet using a level and adjust as necessary.
Step 5: Caulk the Edges
Apply a bead of caulk around the edges of the cabinet where it meets the wall. Use a caulk gun to ensure even application. Smooth the caulk with a wet finger or a plastic spatula.
Step 6: Reinstall the Doors and Shelves
Reinstall the cabinet doors and any shelves or organizers that were removed. Make sure the doors open and close smoothly and that the shelves are properly secured.
Step 7: Turn on the Power and Enjoy!
Turn on the power to the bathroom at the breaker box. Your new recessed medicine cabinet is now installed and ready to use.
Tips:
- Measure the opening in the wall carefully to ensure that the new cabinet will fit properly.
- If the opening is not perfectly square, use shims to level the cabinet before securing it to the walls.
- Use a high-quality caulk that is mildew-resistant.
- Allow the caulk to cure completely before using the cabinet.

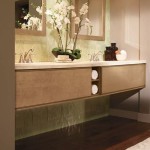
Diy Niche Shelf Old Bathroom Medicine Cabinet Makeover A Piece Of Rainbow

Building A Recessed Medicine Cabinet

How To Install A Medicine Cabinet The Home Depot

How To Install A Medicine Cabinet The Home Depot

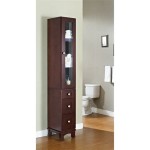
How To Remove A Medicine Cabinet Kay S Place

How To Make And Install A Medicine Cabinet Queen Bee Of Honey Dos

Diy Medicine Cabinet How To Replace A

How To Install A Medicine Cabinet The Home Depot

How To Install A Medicine Cabinet The Home Depot

How To Install A Medicine Cabinet The Home Depot
Related Posts