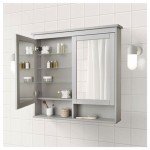
If you’re looking to give your kitchen a new look, one of the best ways is to redo your kitchen cabinets. But if you’re not a professional carpenter, how can you do it yourself? With a little bit of know-how, a few simple tools, and a weekend to spare, you can have your kitchen cabinets looking brand new in no time.
Before you begin, it’s important to have a plan. Decide what kind of look you’re going for in your kitchen and determine what materials you’ll need. Once you’ve figured that out, you can begin the process of redoing your kitchen cabinets.
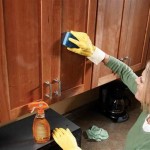
The first step is to remove all of the cabinet doors, drawers, and shelving from the main cabinet frames. This will give you access to the inside of the cabinets so you can make repairs or perform maintenance. Once the cabinets are empty, you can start sanding them down with a sanding block. This will remove any dirt or residue and create a smooth surface for painting.
Next, you’ll need to apply a coat of primer to the cabinet frames. This will help the paint adhere better and also protect the wood from wear and tear. Allow the primer to dry completely before starting to paint. To achieve the best results, use a brush and roller to apply the paint. Be sure to use even, sweeping strokes to ensure an even finish.
Once the paint has dried, you can begin to reattach the cabinet doors, drawers, and shelves. Use new screws to secure the doors and drawers to the frames and make sure they open and close smoothly. Finally, you can install new hardware such as drawer handles and knobs.
With a few simple tools and a weekend’s worth of work, you can completely transform your kitchen cabinets. Take your time and make sure you’re following the proper procedures for the best results. And don’t forget to enjoy the process – redoing your kitchen cabinets is a great way to give your home a fresh, new look.


Related Posts

