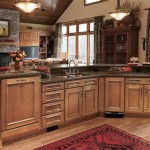
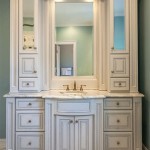
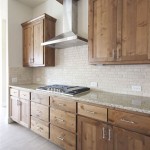
Adding crown molding to your kitchen cabinets can give your kitchen a fresh, updated look. Crown molding is a decorative molding that is installed around the tops of cabinets, giving them an elegant look that adds a touch of style and sophistication. Crown molding is a great way to transform your kitchen cabinets from plain to beautiful and you don’t need to be a professional to get the job done.
Installing crown molding on kitchen cabinets is an easy DIY project that can be completed in just a few hours. First, you need to measure the area where you plan to install the molding. Make sure to measure accurately and make sure the molding is cut to the correct length. Once you have the measurements, you can purchase the crown molding from your local home improvement store.
Once you have the molding, you will need to cut it to the correct size and shape. You can do this with a miter saw or a jigsaw. Make sure all of your cuts are straight and precise, as any imperfections will be visible once the molding is installed. Once you have all of the pieces cut, you can begin to install them.
Using a nail gun, attach the molding to the top of the wall cabinets. Start at one end, and work your way to the other side. Make sure to use a level to make sure the molding is straight and even. Once you have finished installing the molding, you can either paint it or stain it to match the other elements in your kitchen.
Adding crown molding to your kitchen cabinets is a great way to enhance the look of your kitchen without spending a lot of money. With the right tools and materials, you can easily transform your cabinets from ordinary to extraordinary. By adding crown molding, you can give your kitchen an updated, elegant look that will last for years to come.


Related Posts

